How I Color My Hair At Home

/
0 Comments
Hello Awesome Readers!~

Salon treatments and coloring can be so expensive and can be time consuming too especially when you have to wait in line. Have you ever thought of DIY hair coloring at home but afraid of what hair dye to use and how you'll do it? Let me share my humble experience on this matter and hopefully help you along the way.


Just to quickly get this out of the way, I am not a salon expert and I have not done any professional treatments with other people yet so what you are about to read are just my tips and tricks on how I color my hair at home. :) 

DIY hair coloring is scary especially when it is your first time to do it. So I suggest grab your best buddy or someone who knows what they are doing to avoid any mishaps along the way. 

Also, very importantly do strand test and allergy test 48 hours before the actual hair coloring to make sure you won't get allergic to the product your using and if you do abort mission :)


To begin, you'll need the following:
1. Hair Colorant
2. Oxidizer
3. Latex gloves
4. Comb/brush
5. Mixing Container

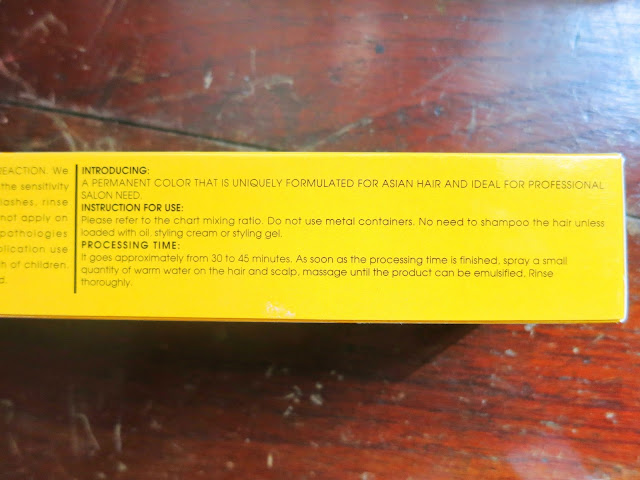
I usually buy my hair dye in Hortaleza Cubao. Their sales attendants are well-informed about hair coloring solutions so you'll be guided on this matter. I picked this Semon Professional Hair Dye in the shade Very Light Blonde. I intentionally wanted to have Rose Gold hair color but I didn't see they have it so I just opted for this one. I only paid for 58php for the permanent color and 33php for the Emulsion cream. Now do the math and compare it to expensive Salon treatments. They can't beat that!


Here are the steps to follow:

1. Get your materials ready and start mixing the permanent color cream and the Oxidizing Emulsion Cream on your mixing container. The right Oxidizing Emulsion cream percentage is indicated at the back of the permanent color tube so you'll be guided. If you still don't know, the Sales Attendant in Hortaleza will help you.


2. Wear an old dark colored shirt (black) and wear your gloves. 

3. Divide the hair into 4 equal sections and pin each section securely.

4. Take one section at a time then start applying the cream from the roots down to the ends of your hair. It will be better if you do small sections when applying for best result.

5. Repeat the entire process until you have completely covered everything.

Note: You need to make sure that all your roots are covered and all your hair are soaked in cream. You can also comb it as you go along to evenly apply the product.

6. Wait for 30-45 minutes for the products to get absorb,

7. Rinse hair with water until the water dripping is clear then what  I do is to only apply conditioner and not shampoo yet for the colors will fade easily if you shampoo your hair immediately.

8. Towel dry hair then your DIY hair coloring is complete.

To guide you even better, I prepared a tutorial on my Youtube Channel so CLICK THIS LINK. 


From the Before picture, my roots are all black and the tip of my hair are too light. The After picture is not so far from the previous color but definitely more even and looked more polished.


Just keep in mind that the final color will differ depending on the base color/original color of your hair. And with constant wash, hair color will eventually lighten up and the true color will be revealed. Truly, good things come to those who wait~ ^^

Hope this post was helpful to you guys who would like to try this DIY at home.

What do you think about my new hair color?

Let me know below~

LOVE,
ARRIENNE


You may also like

No comments: